Guess what! Something was early! Shocking, I know. I just happened to go to the website to look at the light fixture and it was in stock! If they sent me the email I signed up for, I did not see it. They did send me snail mail with a 10% off your purchase coupon code that I did see, so at least there is that! Annnnd it showed up intact and when it was supposed to. Of all things.
 |
| You can't see if from this side, but there is a gap where there is no drywall in a few spots where the canopy touches the ceiling. But look how nice that brass is with the blue! |
Even though the brass is a little, well, brassier that I was expecting, I'm rather smitten with it. What I am not smitten with, or rather who, is the person who hung the drywall in this place. Just like pretty much every other one in the joint, they cut too large of a hole for the electrical box. And dang if I could find a small, simple, plain ceiling medallion.
 |
| It's the Eveleth 3-light Semi-flush Mount from Wayfair's Wrought Studio Shop. I am trying GE's Reveal LED bulbs, hoping that they'll have the benefits of LEDs, but with a nicer quality of light. |
 |
| Hey look! Some holidays in the new ceiling paint, too! The new color is Benjamin Moore's OC-27 Balboa Mist. |
Before I go on about that situation, can we take a moment to appreciate that the milk glass globes are open on the bottom while still covering the light bulbs? Yes! Let's appreciate the open bottom for all the bugs who are not going to crawl in there, die, and make gross silhouettes! I also really like how there are three of them - I do so prefer odd numbers for this kind of thing.
I found and pinned a couple of medallions that were OK, but merely OK. So I decided to try to repair/fill the drywall. I was going to have to take down the light whichever option I chose. Some tape, some mud, some futzing around, followed by priming and painting and I'm calling it "h*ckin' good enough!"

A couple days after remedying the drywall situation, the dimmer switch arrived! Since I could not have my nearly invisible, yet somehow sexy indigo blue switch and plate or any kind of close approximation, I went in the completely opposite direction. Old-fashioned and brassy! Luckily, Rejuvenation was having a sale, so getting this button-style dimmer switch and a forged brass cover plate was only a few bucks more than the smart switch I returned. The brass is not lacquered, so I hope it will patina over time to a bit more antique-y finish.
 |
| Even though I've totally been living with the original (ungrounded, ahem) switch just hanging out of the wall like this for a couple weeks, you know I protected that Venetian plaster from my own self when the new one finally arrived. |

I am crushing hard on the blue with the brass and wood tones. Spending my early adulthood in the shiny, brass-plated doorknob years adversely effected and limited my understanding of what brass is. I'm glad that through various human and media sources I have been exposed to how much more brass can be.

 |
| Also suitable for Mid-century Alien Autopsies. |
As a reminder, this is the old light. I don't hate the base or the shade, but I don't particularly like them together and they weren't adequate lighting for the activities this room supports. When I took it down I found that the fixture's wires were cloth-covered, so apparently it's an old one! I would like to reuse it somewhere, so I'm going to keep it and look into bringing the wiring up-to-date.

COMING NEXT: I'll be shifting gears back to the ol' Cutting the Rug Series while install the new LVP flooring in this room which is the last room. "THE LAST ROOM!" she said jinksingly.
______________________________________________________________
THE BREAKDOWN
Phase I
1. Empty that room!
2. Remove base moulding
3. Remove closet doors & hardware
4. Remove the carpet and pad
5. Remove tack strips and staples
6. Remove chair rail and paneling
7. Determine if wall paper is removable
8. repair walls
9. prime walls and ceiling
10. paint walls and ceiling
11. decorative finish(es)?
12. replace light fixture (back-ordered, supposed to be available July 7)
13. replace switches and outlets, covers (waiting on that dimmer)
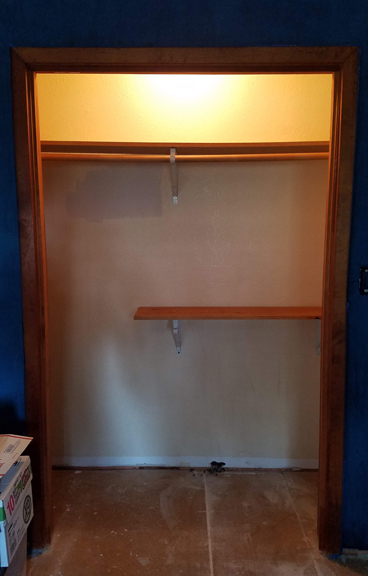
14, make and install closet shelves, etc. (will install the bottom shelf after the floors are installed)
15. prime existing subfloor x 2
16. pour self-leveling subfloor
17. install LVP
18. reinstall base moulding
19. reinstall closet doors
20. install transition piece at doorway
21. make window covering
22. install window covering
Phase II
1 - ?. Build built-in bookshelves
... Finish last course of flooring
... Add base shoe or other moulding to bookcases
... Add picture rail
... Add picture rail