If you have been popping in to check on things here, you know that I've been focusing on remodeling our library/studio/auxiliary guest room. That room was the last of the carpet and I decided that while the room was completely empty and before the new floor was installed I would take care of all the other issues and start turning this room more officially into a capital-L Library*:
- remove wainscot, chair rail, and painted over wallpaper
- repair and refinish those walls
- repaint the ceiling
- replace the outlets and switches
- replace the light fixture
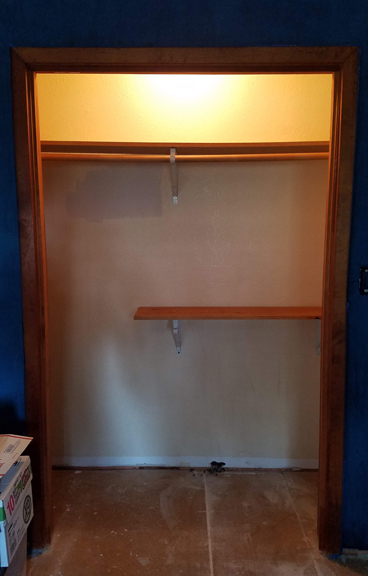
- re-do the closet
When those were done, I finally tackled the floor! I forgot to take photos of the carpet specifically, but here it is with removed wainscot and chair rail on it. Ick.

I decided to forego all the in-progress shots, since you can see those in the other Adventures in DIY Flooring posts should you choose. But know that Eric again helped with installing the self-leveling underlayment - it would havbe been brutal without him. After that I spent a few hours over three days doing some patching and then it took me three short-ish days to get the LVP laid down.
 |
| Almost halfway! Somewhere around 40% done I cut a chunk off the end of my left index finger, so that was... eventful. |
 |
| And the floors are done! Well, except that last bit that will abut the bookcases when that gets done. This photo has the more accurate floor colors. |
Then I tidied up the base moulding and reinstalled most of it. I want to build bookshelves across that entire unfinished wall this autumn, so am leaving the base moulding off there. I think we'll replace the baseboard heater then, too, so that piece is staying off, too. I had assumed baseboard heaters would cost a couple hundred bucks, so never considered replacing an of ours which are in pretty sorry shape, but that we hardly ever use. Their paint is worn and scratched, as well as speckled with paint and stain from all the years the other owners have painted and stained. But it turns out that new ones are not even one-hundred dollars! It also turns out that the electrician that the home warranty insurance had come out to replace the once in the living room our first year here, was a liar as well as a flake. He said they didn't make them as long as the one he was replacing any more, but Lowe's has them in stock right now. Maybe they didn't make them 6 years ago, but I have very serious doubts. Anyway, I can see replacing most of them over the next few years and updating the controls while we're at it.

In addition to the wall o' books, this room will also be getting new window coverings and a picture rail. I will still use it for sewing and crafting until we can kit out the shop as a studio, but am dedicated to really trying to keep it tidy and contained. Eventually we'd like to move the TV out of the living room, have comfortable watching reading furniture in here, as well as some kind of portable/fold-away desk for Eric to write at. We need to get this room's current furnishings out of the guest room and hallway, as we're expecting some guests over the next few months, so it's going to be awhile before this room is "done."

 |
| Where the bookcases will be! |

*I've been calling that series "Overbooked?" because... we have A LOT OF BOOKS in addition to the books on the shelves that came with the guest room and on the shelves I added in the guest room closet.

I have forgotten and procrastinated on ordering another transition piece for the doorway, so there is that to finish, too. It didn't take too long to get it last time; I hope to pop in there to order it soon as well as return three (3) unopened boxes of the LVP. I will keep 2+ boxes for repairs and whatnot.

I have forgotten and procrastinated on ordering another transition piece for the doorway, so there is that to finish, too. It didn't take too long to get it last time; I hope to pop in there to order it soon as well as return three (3) unopened boxes of the LVP. I will keep 2+ boxes for repairs and whatnot.