
Sometime this spring I took on the project of replacing all the flooring on our second story. Of course, that project lead to other while-I'm-at-it projects, including almost totally remodeling/redecorating the little water closet in the master "suite." It should've taken a couple weeks of fairly consistent work, but instead it took months of totally inconsistent work. Phases A-E and F-H, if you have forgotten or are otherwise interested. As usual, I was very thrifty about this whole thing. Buying this many pieces pre-made and full price would've cost more than the rest of it put together, so of course, I made most of these.

 |
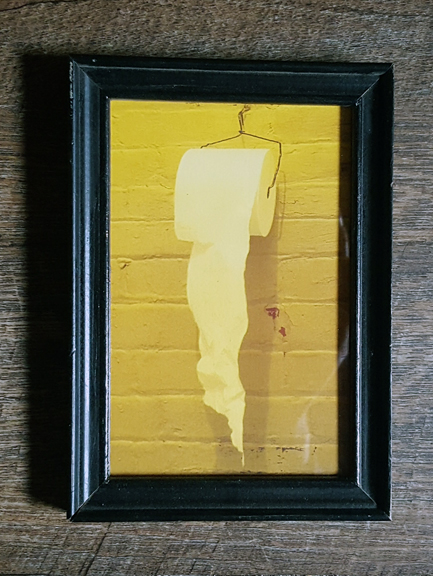
| I have one more piece already purchased to go in that spot lower right corner; I just need to find a frame for it. |

Phase I (that's an uppercase letter "i," not a Roman numeral one): Fun and funky decor items. For some reason the idea of a gallery wall style display of silly, potty-themed things got stuck in my head and it didn't let go. I had a lot of fun, giggly moments coming up with what I have so far, but they'll be hard to photograph in that tiny room, so I took pictures before installing them. I've seen a few methods for planning and hanging gallery walls on pinterest and decided to make templates to use for putting in the nails. I had this wrinkly packing paper on hand so cut it to size and went for it.

I drew two baselines, 3/4" apart, separating the bottom third of the papers. That is to line up with the 3/4" base of the TP cabinet to create a visual line that flows around 3 sides of the water closet. Then I arranged all the pieces I have so far. I'm a big fan of "a structured border containing chaos" and that is what this gave me. It's also why I love the English Garden style.

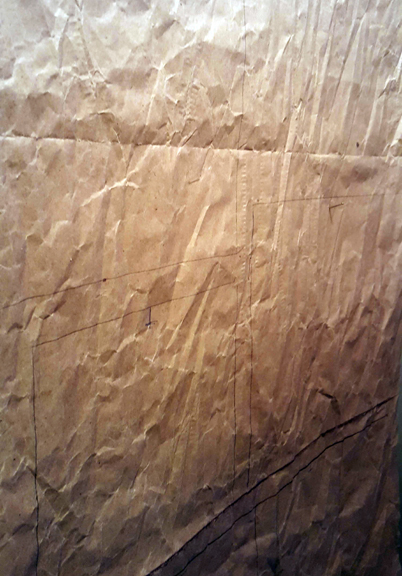 |
| I used a pencil to draw around the pieces as they were laid out, so the marks are hard to see. I didn't trust myself not to get ink on my things! Then I used a grey marker to mark where the hanger would fit a nail. Once the paper was on the wall and all leveled up, I tapped a nail though the marks just enough to mark the wall underneath. Finally, I took down the paper and hammered in the nails. |
I spent a lot of time on the pieces that I made so, here they are all individually photographed for your viewing pleasure. By which I mean, my need to hassle you with the details.
I made my first-ever cross stitch projects! I bought three patterns each from two different Etsy sellers and went to town on airplanes and evenings over the summer. I had 2 frames in the stash and bought the rest at thrift stores, a garage sale, and at deep discount.
These are the first three I made. I bought the patterns from this Etsy store.


Then I went ahead and ordered three more patterns from this Etsy shop.


I have also finally started exploring what my Cricut can do with a little help from a friend who came to visit so I could finally put together these paper projects!The first is based on a sign a friend has in her cabin's bathroom. The second is based a couple of scenes from the movie "Elf" _ I altered that frame, too! The third is a free printable I found online and the fourth is based on something I found on pinterest - it's all mounted on a stretched canvas that I had in my stash.


It's been awhile since I've gotten to make a diorama, but I received a gracious gift of a bunch of vintage Fisher Price Little People stuff just in time to make a potty diorama! < LOTS of detail photos at that link.

I didn't want all the stuff to be made by me, because I didn't think that would look quite like a true gallery wall display: collected over time from various sources. So I searched and am continuing to search for silly, potty-themed bits to include.
 |
| I have had this blank note greeting card for ages. Not sure why I bought it, but pretty sure I know why I haven't ever given it. |
 |
| I picked up this weirdo at this Etsy shop after seeing them on Instagram. |

I found this nesting set of two shadow box shelves at a junk store in a neighboring town for just $5! Even though the finish was a bit chipped, they were otherwise in great shape and well-made. So I sanded them down and refinished each of them a bit differently.


It really seems like I have had a long run of projects going pear-shaped on me these last months and man, does if feel good to finally have this water closet redo behind me. Well, mostly behind me. I expect to pick up more pieces for the potty-humor gallery as I find them.